Hi!
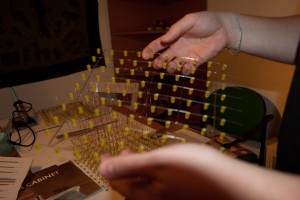
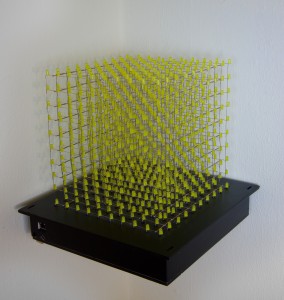
This time I will show my biggest project, since I make electronic applications at home. This is a led cube, which is not a new thing in 2011, but I wanted to make my version somehow different then the others’.
But first of all, let’s take an overview about the led-cube concept. A led-cube is basically a 3D LED matrix display. Matrix, because it hasn’t got endpoints to all the display elements (the LEDs), but every element has an “address”, which can used to reach it. This address means two things, as a LED has two pins (the anode and the cathode). Most of the led-cube designs are working by activating each layer for a time (the common pins of all the LEDs of that layer), and also switches ON the wanted LEDs in the layer (the columns). If the layer changing is fast enough, the human eye can not see any vibration, just the picture. In one hand, the layer display time has to be small to avoid the vibration, but on the other hand, it has to be long enough to see anything :) I mean the brightness is partly depends on the light time (but partly on the current on it).
Here is a simple design for building a 4x4x4 one. I also built this, this was my first try. I wrote several animations for it and was happy enough to start the design of my own one. In that post, you can find the basic rules for soldering the LEDs together.
I didn’t want to
- use dozens of TTL shift registers, multi and demultiplexers, driver arrays, etc.
- use hundreds of wires connecting the cube to the electronics (2 or 3 IDE cables, etc.)
- use transistors and resistors for drive each column (means 64 for a 8x8x8 cube)
- copy any concrete schematic, design or idea, which I can find on the net, partly because they weren’t as cool as I wanted :)
- use RS232, or LPT, or any other old port for the communication, because an average laptop does not contains them since many years (now it is almost true for the desktop motherboards as well)
But I did want to
- use modern electronic parts for the LED driving, there are a lot of them out there
- make it very modular, if somebody want to reuse my ideas, he can change or improve a part easily
- use a very common, plug&play communication interface like ethernet or USB
- make it to use more then two LED states (ON and OFF)
- make it good-looking :)
- make it BIG
- make it from as less money as I can, but without any big effect on the quality
I’m not assert that I invented something totally new, but it became very cool after that lot of time I spent on it. So my led-cube is called as FadeCube.
Attention!
If you want to build such a big cube, I have to tell You, that will costs all your freetime during months(!), and you won’t thinking on anything else, so please consider it, you will maybe regret it in the middle, and your girlfriend might leave you! So don’t say I didn’t told you.
Ok, I’m just kidding :)
Final hardware concept
As I wanted to make it big, I chose the size to 10x10x10x, which is 1000 LEDs at all!
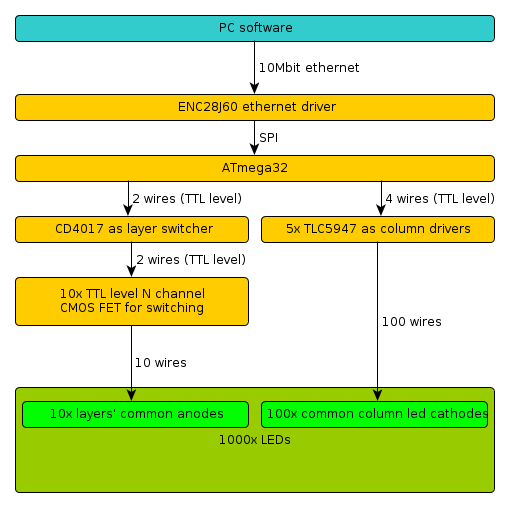
In the last minute I changed my mind about the hardware, because I have an ATNGW100 board since years, and I still don’t use it for any purpose, so I wanted to write a kernel module for driving the cube, which was almost working, but I could not reach that strict timing which I wanted, so thanks to the modular design, I could swap the control with the good-old 8bit AVR (while the board is still can cooperate with 3,3V controller trough the 74LVC4245 pin-compatible connector). So the design is:
LEDs
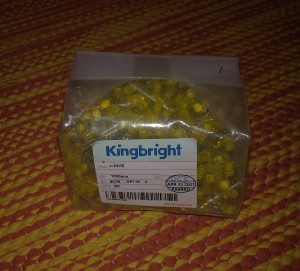
I didn’t want to choose yellow as the color specifically, but I got a 1000pcs 5mm Kingbright packet for only ~13 €.
Layer drive
Some designs contains direct controller pins routed for each layer-driver transistors or FETs, which is totally unnecessary I think, so I recalled my very first working self-designed electronic application, which was a semi-knight-rider light (semi because the light was only moving in one direction :) ) based on the classic CD4017 Johnson counter, so now the layers needs only 2 wires for the control (4017 clock and reset). It was about 0,2€ :).
I got some IRLIZ24 N channel TTL level MOSFET for very low price again (0,15€ for each).
Column drive
Thanks TI to producing good LED drivers such as the 24 channel sink driver, the TLC5947 :).
Others
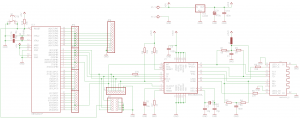
The ATmega32 and ENC28J60 are commercial parts, nothing special.
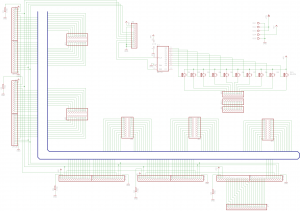 The schematic for the heart of the control, the board #2
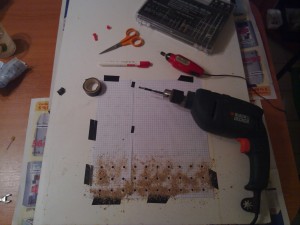
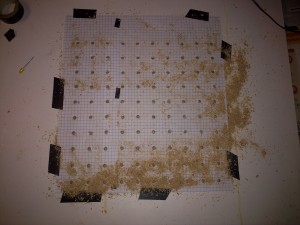
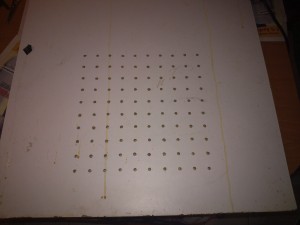
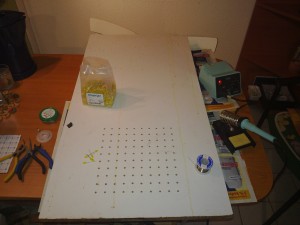
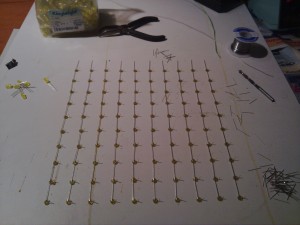
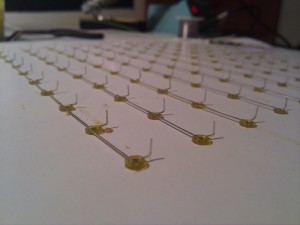
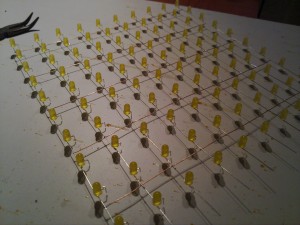
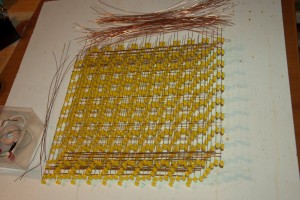
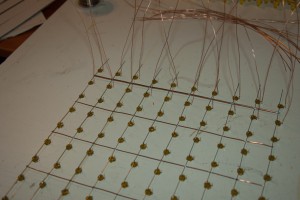
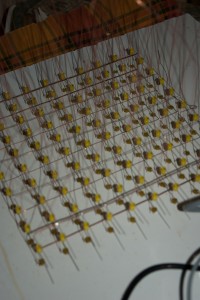
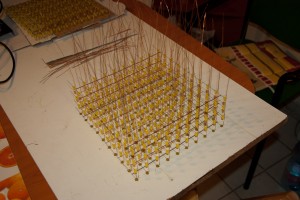
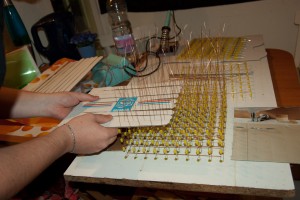
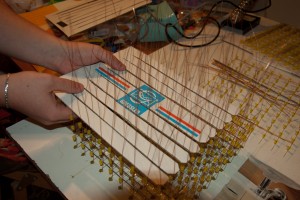
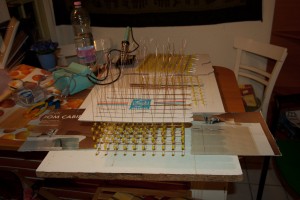
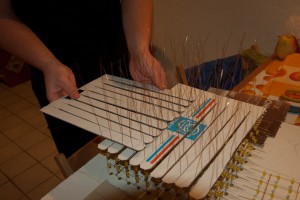
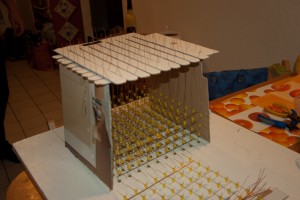
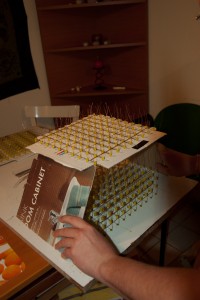
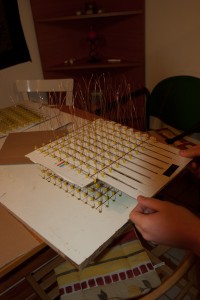
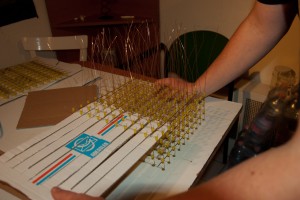
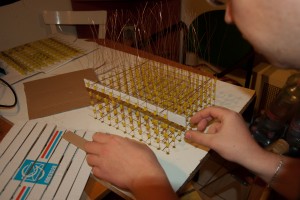
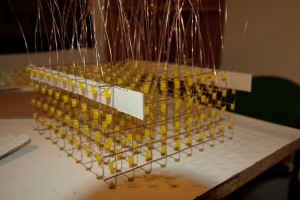
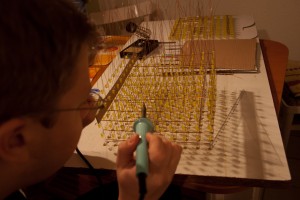
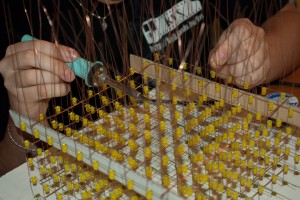
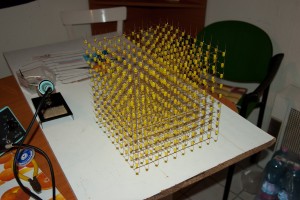
My cube has 25mm distance between the LEDs. You probably know, but a LED has only one 25mm long pin (the anode), the other is only 20mm long. Because the TLC5947s are sink drivers (means that the pins are connected to the LEDs’ cathode), the cube is made the way to be common anode, so the common anode is made from the LEDs original pins, and additionally from some other wires to keep the layer strong enough. Here came the trouble: I saw that somebody used silver wires, because it is much more stronger than any copper wire and can easily soldered (I felt copper too flexible to use). Ok, let’s get some! It is at least 10€ for every single meter (and I need at least 25m)! Hmm, I have to use copper somehow :) . I had to make some plan on howto solder the layers together, because there will be 100 pcs of vertical wires, and have to find they own hole in the next layer, while it is put on the top. I got an idea, but I didn’t know if it will work in practice, but I was fortunately right. Some pictures about the constructing (it was about 25-30 hours at all, not including the led pin preparing(curving and cut) cause it was another 10 or 15):
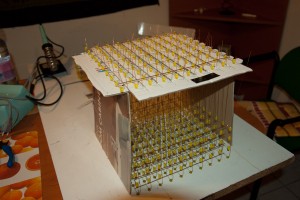 Next layer is placed to the top, and all wire is next to the needed LED.
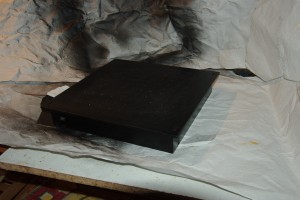
The only piece, which I didn’t want to make (and mess up the flat with), is the enclosure of the electronics. I had my friend - who is workig with AudoCAD daily - to draw my imagination about the box into some files :). Originally I wanted it from plastic (from plexi) and also an enclosure for the LEDs themselfes, but I still haven’t recieved any response to my email from the plexi company :(. So the enclosure was finnaly made from wood (I had to paint it myself), without any protection of the LEDs :( (it was ~18€).
After that, I was almost at the finish with the hardware, just the boards were left :)
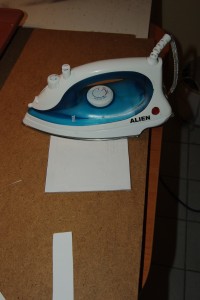
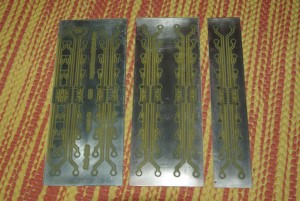
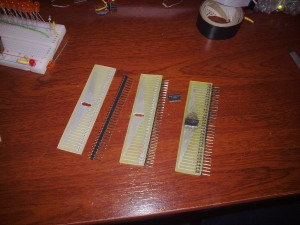 I was afraid I will do something bad if I try to solder the 5 smd TLC5947 IC onto to board, so I made some breakout panels for them (I got the idea from here, thanks for it), than I can change any faulty piece.
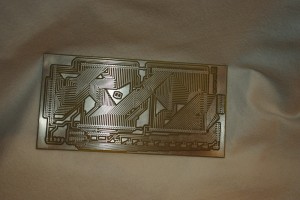
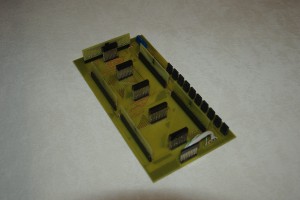
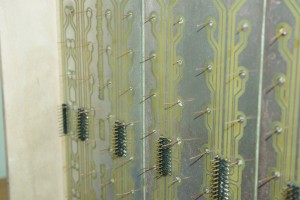
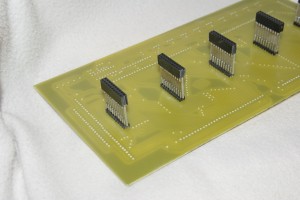 I was thinking over complete evenings on howto connect that two huge board with 110 connections, but without any wire, this is the answer :)
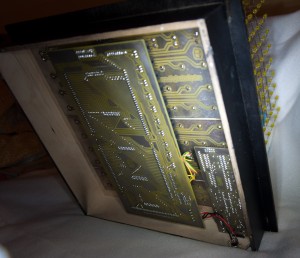
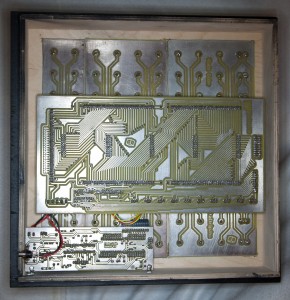
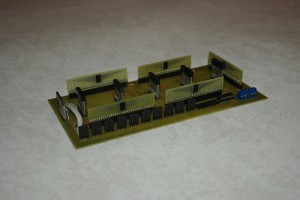
Board #2 is like a PC motherboard :)
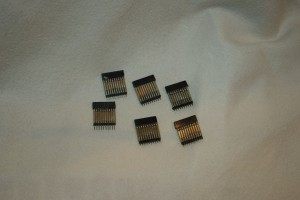
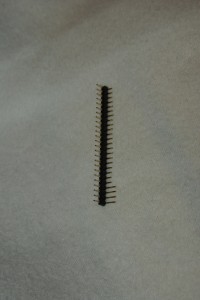
Surface mounted pinheader, actually that is two one-line piece soldered next to each other 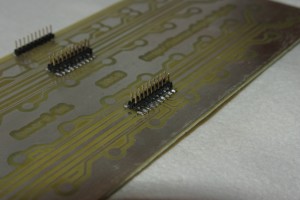
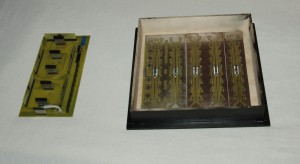
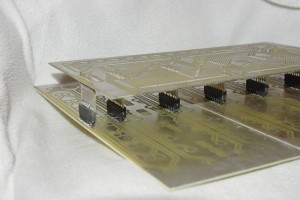 The way how board #1 and #2 will be connected
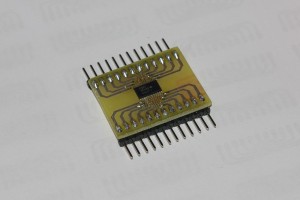 The SN74LVC4245 which is not used currently. You can use it co connect 3,3V controller to the cube board #2 (IC will be on the downside, check it’s manual before use!)
I got the box with the 100+10 vertical-wire holes already drilled, but the guy said this was the last time :) So I glued in the PCB of the vertical wires (board #1), and drilled the board trough the holes on the enclosure.
The last headache was that, I had to get the 100 column wire in that 100 f*ckin’ hole. It took more than one boring hour. After that the soldering was quite interesting.
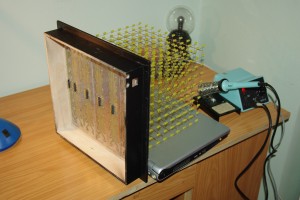
- Yes, my laptop was the stand :)
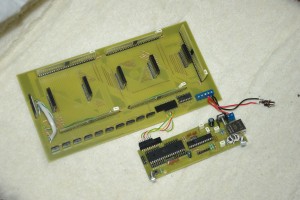 Board #3 (Ethernet IC and ATmega) is ready and connected to board #2
I chose the LED current to 30mA, which is the maximum for the TLC5947, and which the LEDs have to tolerate in the 10% of the time.
The board was designed to be a general ethernet “demo” board (means you can build it to use for any standalone solution, cause the mega32 and the ENC SPI is routed out to pinheaders), because you can not try it on breadboard as the MagJack pinout is incompatible. In addition, there is several pinout variant for the MagJack connector and I couldn’t find the package’s eagle part which I got (L829-1X1T-91). I appended mine to an existing (08B0-1X1T-06-F got from http://www.blackmesaeast.com.pl/projects/electronics/eaglelibs/) library and you can download it here.
You can find a lot of information about the ENC28J60 and AVR cooperation here. From the hardware point of view, I made minor modification in the concept. I have several good-old ATmega8 and 32 at home, but no mega88 or 328, or any which can operate at 3,3V. I read a lot of discussions on the net, that ENC28J60 can not handle 5V controllers, because it needs 3,3V supply and you have to use some transciever, etc. I can not say anything else than RTFM, at least 3 times mentioned that the SPI communication port is 5V tolerant :). The ENC->AVR (MISO) direction is also OK, because AVR assumes that 3,3V is high. So there is no problem with it.
There is some 12V named wire in board #2 schematic, it has no meaning (the idea was to get the 12V supply here, and route to the NGW100 panel, but now it is meaningless, no 12V needed).
The cube consumes about 2-3 Ampers if all the LEDs are lighting. I bought a 4A supply (13€) to be sure.
Software and communication concept
I tried to keep the modular and modern solution in mind, that’s why I used ethernet. A happy thing is that the ENC28J60 is a popular IC between the hobbyists. I found several drivers for it, including TCP and UDP stacks, than I started to use the tuxgraphics version, because it is simple and still developed (great work, thanks for it). The cube’s communications is simple, there is not a lot of data, so no compression or any trick is needed. I decided to have 4 level of brightness for every LED (so two intermediate level in addition the ON and OFF state), I couldn’t defferentiate more by eyes.
The basic idea is, that the PC should store or calculate everything, which the cube has to display (and the timing as well). So the frame data can be stored or sent in 250 bytes (1000 LED * 2 bit, which means 4 LED per byte). If we design animation with 50 fps (20 is also more then enough), it means 12,5 kBytes/sec transfer rate, so not that big. OK, the next question is: the protocol on the IP layer. TCP or UDP? UDP or TCP? :). I decided to use UDP and the main reason is: it is much more simple then TCP. Anyway where the timing is strict, there people offen use UDP (if it is OK for first person shooters like Half Life or Quake, maybe it is also suitable for the my led-cube :)). There is no guarantee on packet recieving? I don’t care, because I’m on LAN, so if one or two packet is left monthly, I can live with it.
One more thing on the communication “protocol”, the first byte is the command for the cube. If that byte is 0, the cube sends back an UDP packet with it’s name (like “FadeCube vX.Y”), this can used to check the connection. If the control byte is 1, it means, there is some data to display, and the next 250 byte holds the data itself, described above.
Now anybody can write cube anymation programs because the communication is that simple :). My colleague did, cause he made a growing orb in an hour :).
But I felt, I have to care about the users, who can not program orbs without help (like me :)). So I designed a GUI for my cube, which became my first really interesting .NET project. Animation frames can be made in it, you can specify the time of the visibility for each frame and you can play it on the cube.
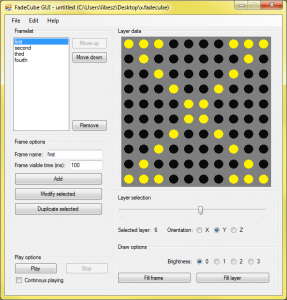 If the connection is set to the cube, every click in the GUI immediately appears on the cube as well, so you can see your stuff also in 3D. Animations can be saved in XML format.
Plans
- Unfortunately, I don’t know anything about OpenGL, but I’d like to to make a cube simulator, which can play the role of the cube:
- can reached on a local UDP port
- draws the animation in 3D to easily design animations without the cube itself
- (there is already two connection in the GUI to use the simulator and the cube in parralel)
- Some more features to the GUI:
- drag&drop for plaintext decoded framedata
- copy&paste method to move a frame or a layer data to an other frame/animation
- line drawing, random fill, rotating and moving content in the frame, etc.
- A lightweight framework to make animations cumputed by program (orbs, implicit surfaces, fractals, music visualisations like spectrum analyzer, etc.). Should made as a library to reuse in any programming language and platform.
- Make some status LEDs on the enclosure (I routed out the last twenty LED connections of the 5th TLC5947, it could be used for anything)
- Some standalone feature, which the cube can handle without the host PC, like a tetris game (with PS2 mouse? :)), or snake or any else. The sky is the limit (and the freetime) :)
Known faults
Currently there is one annoying “feature”. On the 2 medium brightness level, sometimes the LEDs of one or two TLC5947s’ are starts to blinking, it is something like they get some false clock cycles, but I still could not find out the reason. Though it is not annoying during a fast animation playing.
Summary
I hope:
- You like my cube and understood my bad english :)
- I didn’t miss any relevant info, but if so, dont’t hesitate to ask me in comments or in email
- somebody will also build it, not to say in an improved version :)
- if You like to just help me or cooperate in doing one of the planned features, or suggest to change some bullshit in the existing code (there might be some…), check the GitHub repos below, I will pull it.
Downloads and links
I tried to collect all the inputs and the results of this project, so:
Used datasheets:
- TLC5947 24 channel LED driver
- IRLIZ24 N channel TTL level MOSFET
- CD4017 Johnson counter
- ATmega32 microcontroller
- ENC28J60 Stand-alone Ethernet Controller with SPI
- MagJack Ethernet connector with internal transformer (L829-1X1T-91)
- SN74LVC4245 OCTAL BUS TRANSCEIVER AND 3.3-V TO 5-V SHIFTER
- LD33 3,3V regulator, still don’t found any usable pdf, but you can see the pinout on the schematic
Used code:
Used Tools
Any else:
Other cubes seen on the net and inspired mine:
- http://bralug.de/wiki/3D-LED-Display
- http://seim.stabentheiner.de/ledcube/
- http://www.qube-solutions.de/qube-5/fotos
- http://lumisense.com/
- http://www.youtube.com/watch?v=H8vYFqboH10
- http://www.instructables.com/id/Led-Cube-8x8x8/
- http://www.instructables.com/id/LED-Cube-4x4x4/
- http://www.instructables.com/id/How-to-build-an-8x8x8-LED-cube-and-control-it-with/
- http://www.youtube.com/watch?v=mKCQ_QAxRUs an amazing ledball :)
- and much more on youtube :)
And finally my stuffs:
Some recorded stuff in very bad quality:
Thats all for today, more applications and videos will come!
